
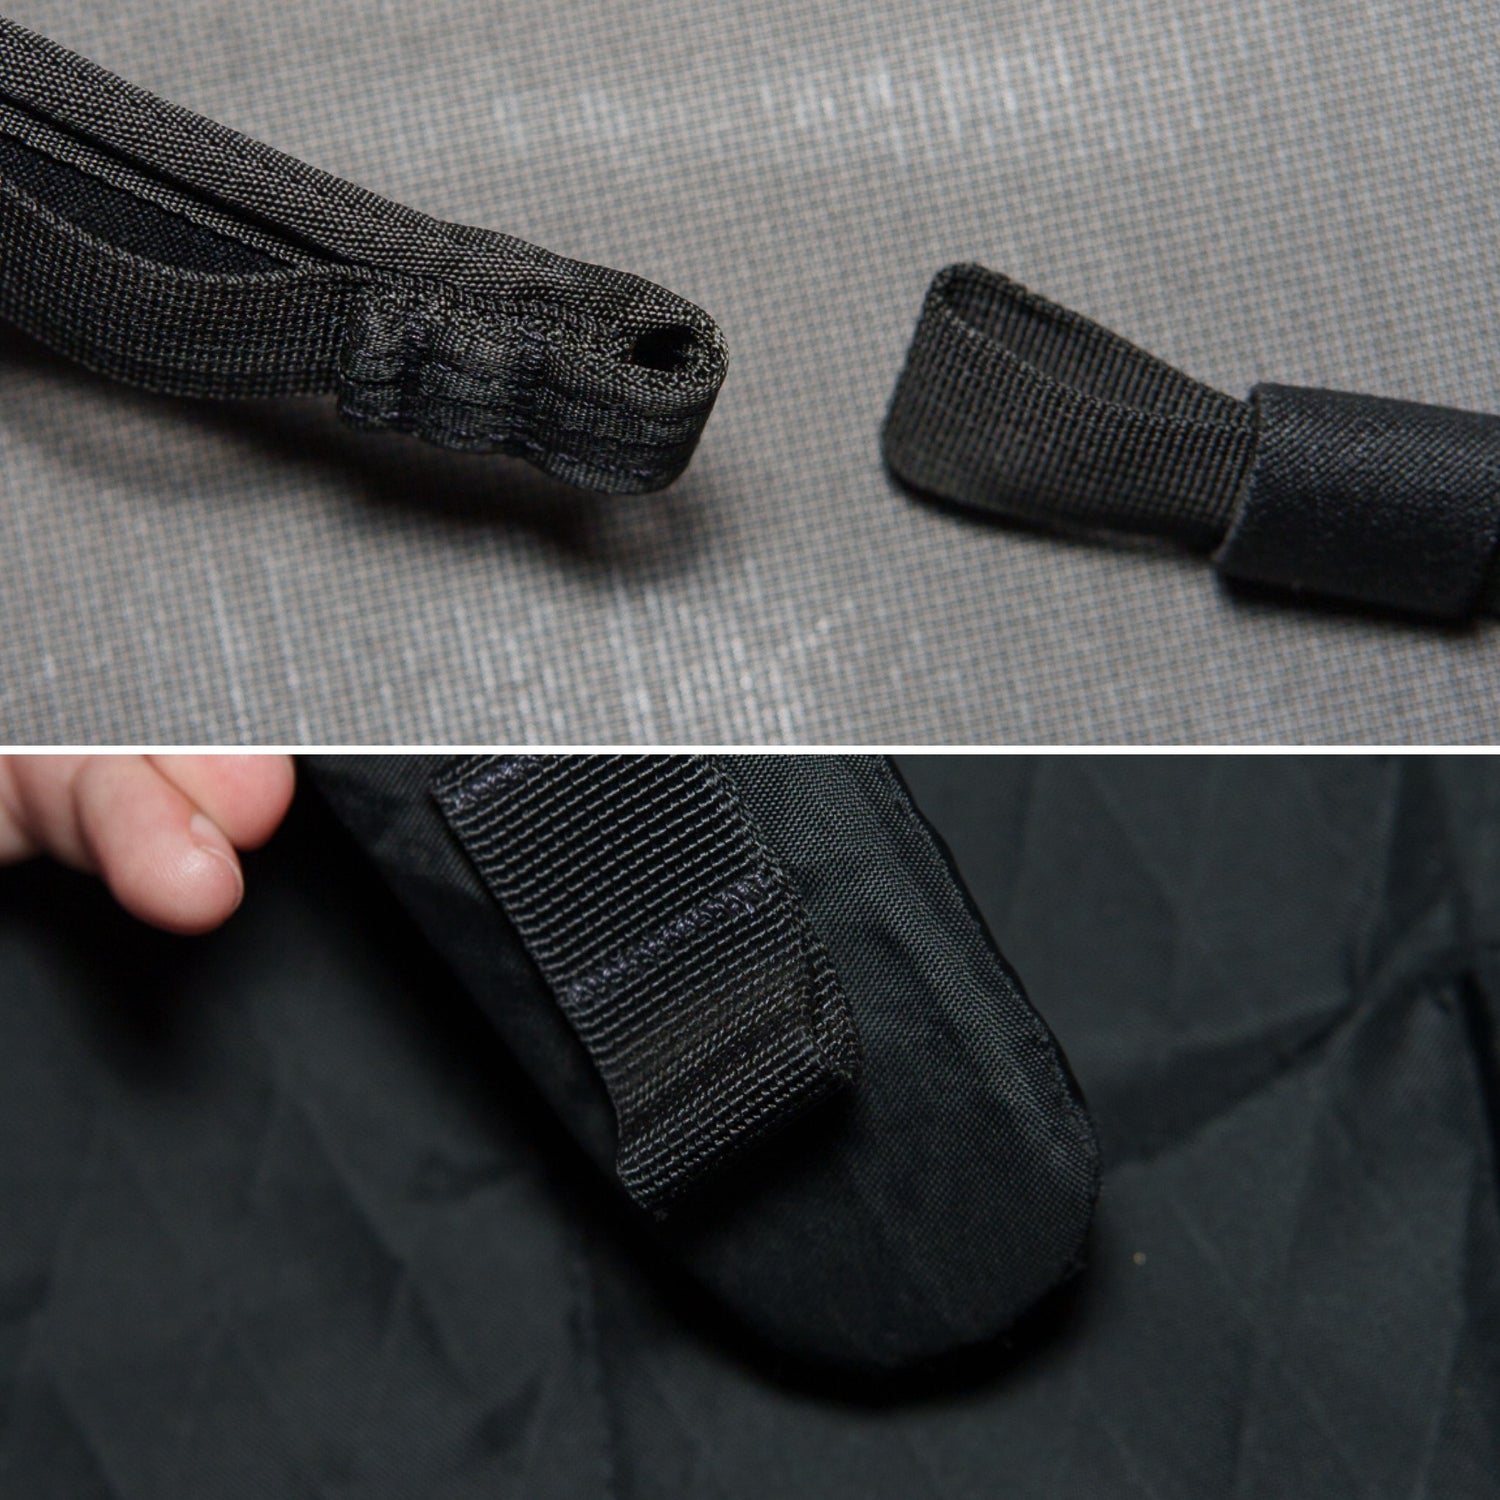
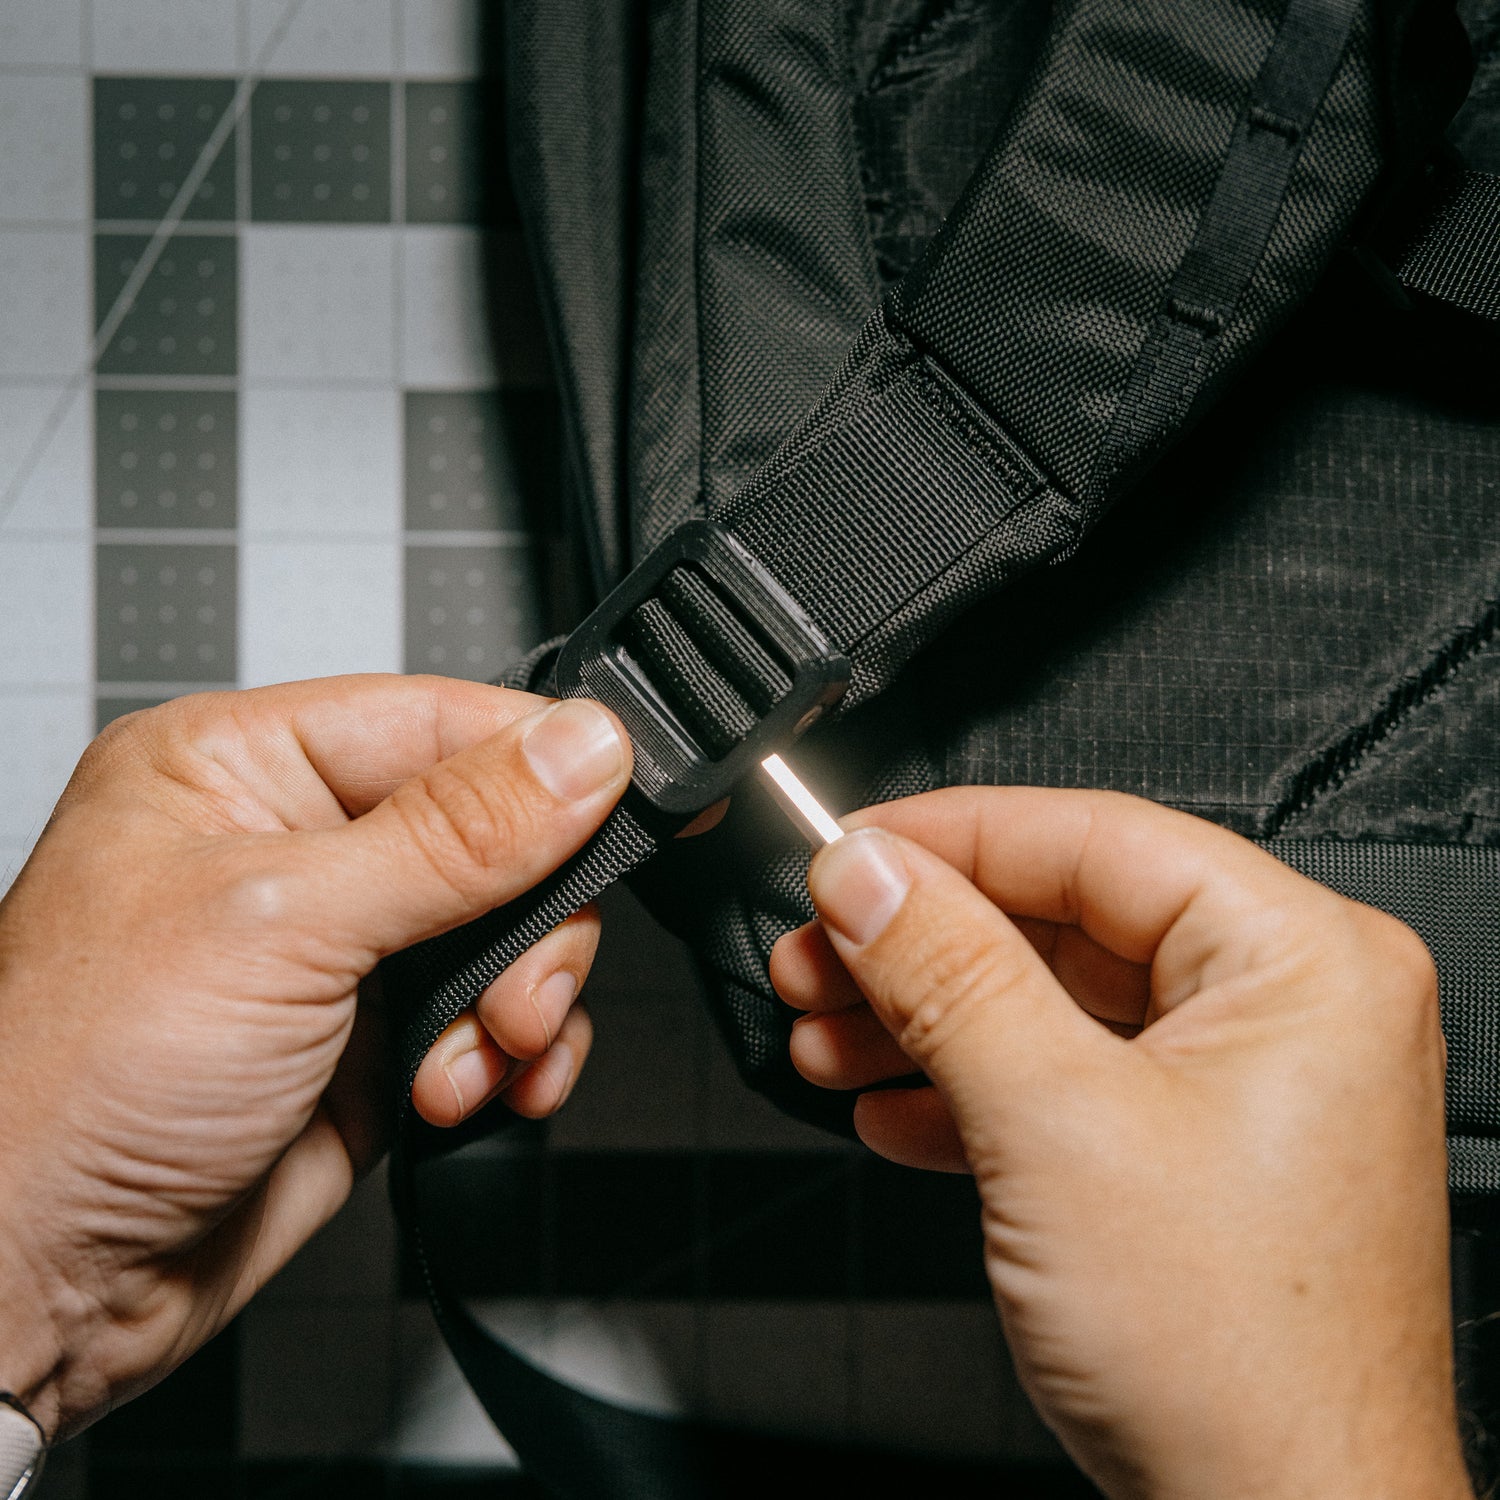
Note on Compatibility
Different methods of strap construction will effect the ability to install SwapLocks, the pictures to the left shows an example (top image) where the webbing of the strap loops off the end of the strap, which interferes with the SwapLock's design. The picture on the bottom shows what is a more standard webbing placement, where the loop is on top of the strap, this construction is compatible with SwapLocks. Please reach out via Instagram DMs or email if you have any qestions!
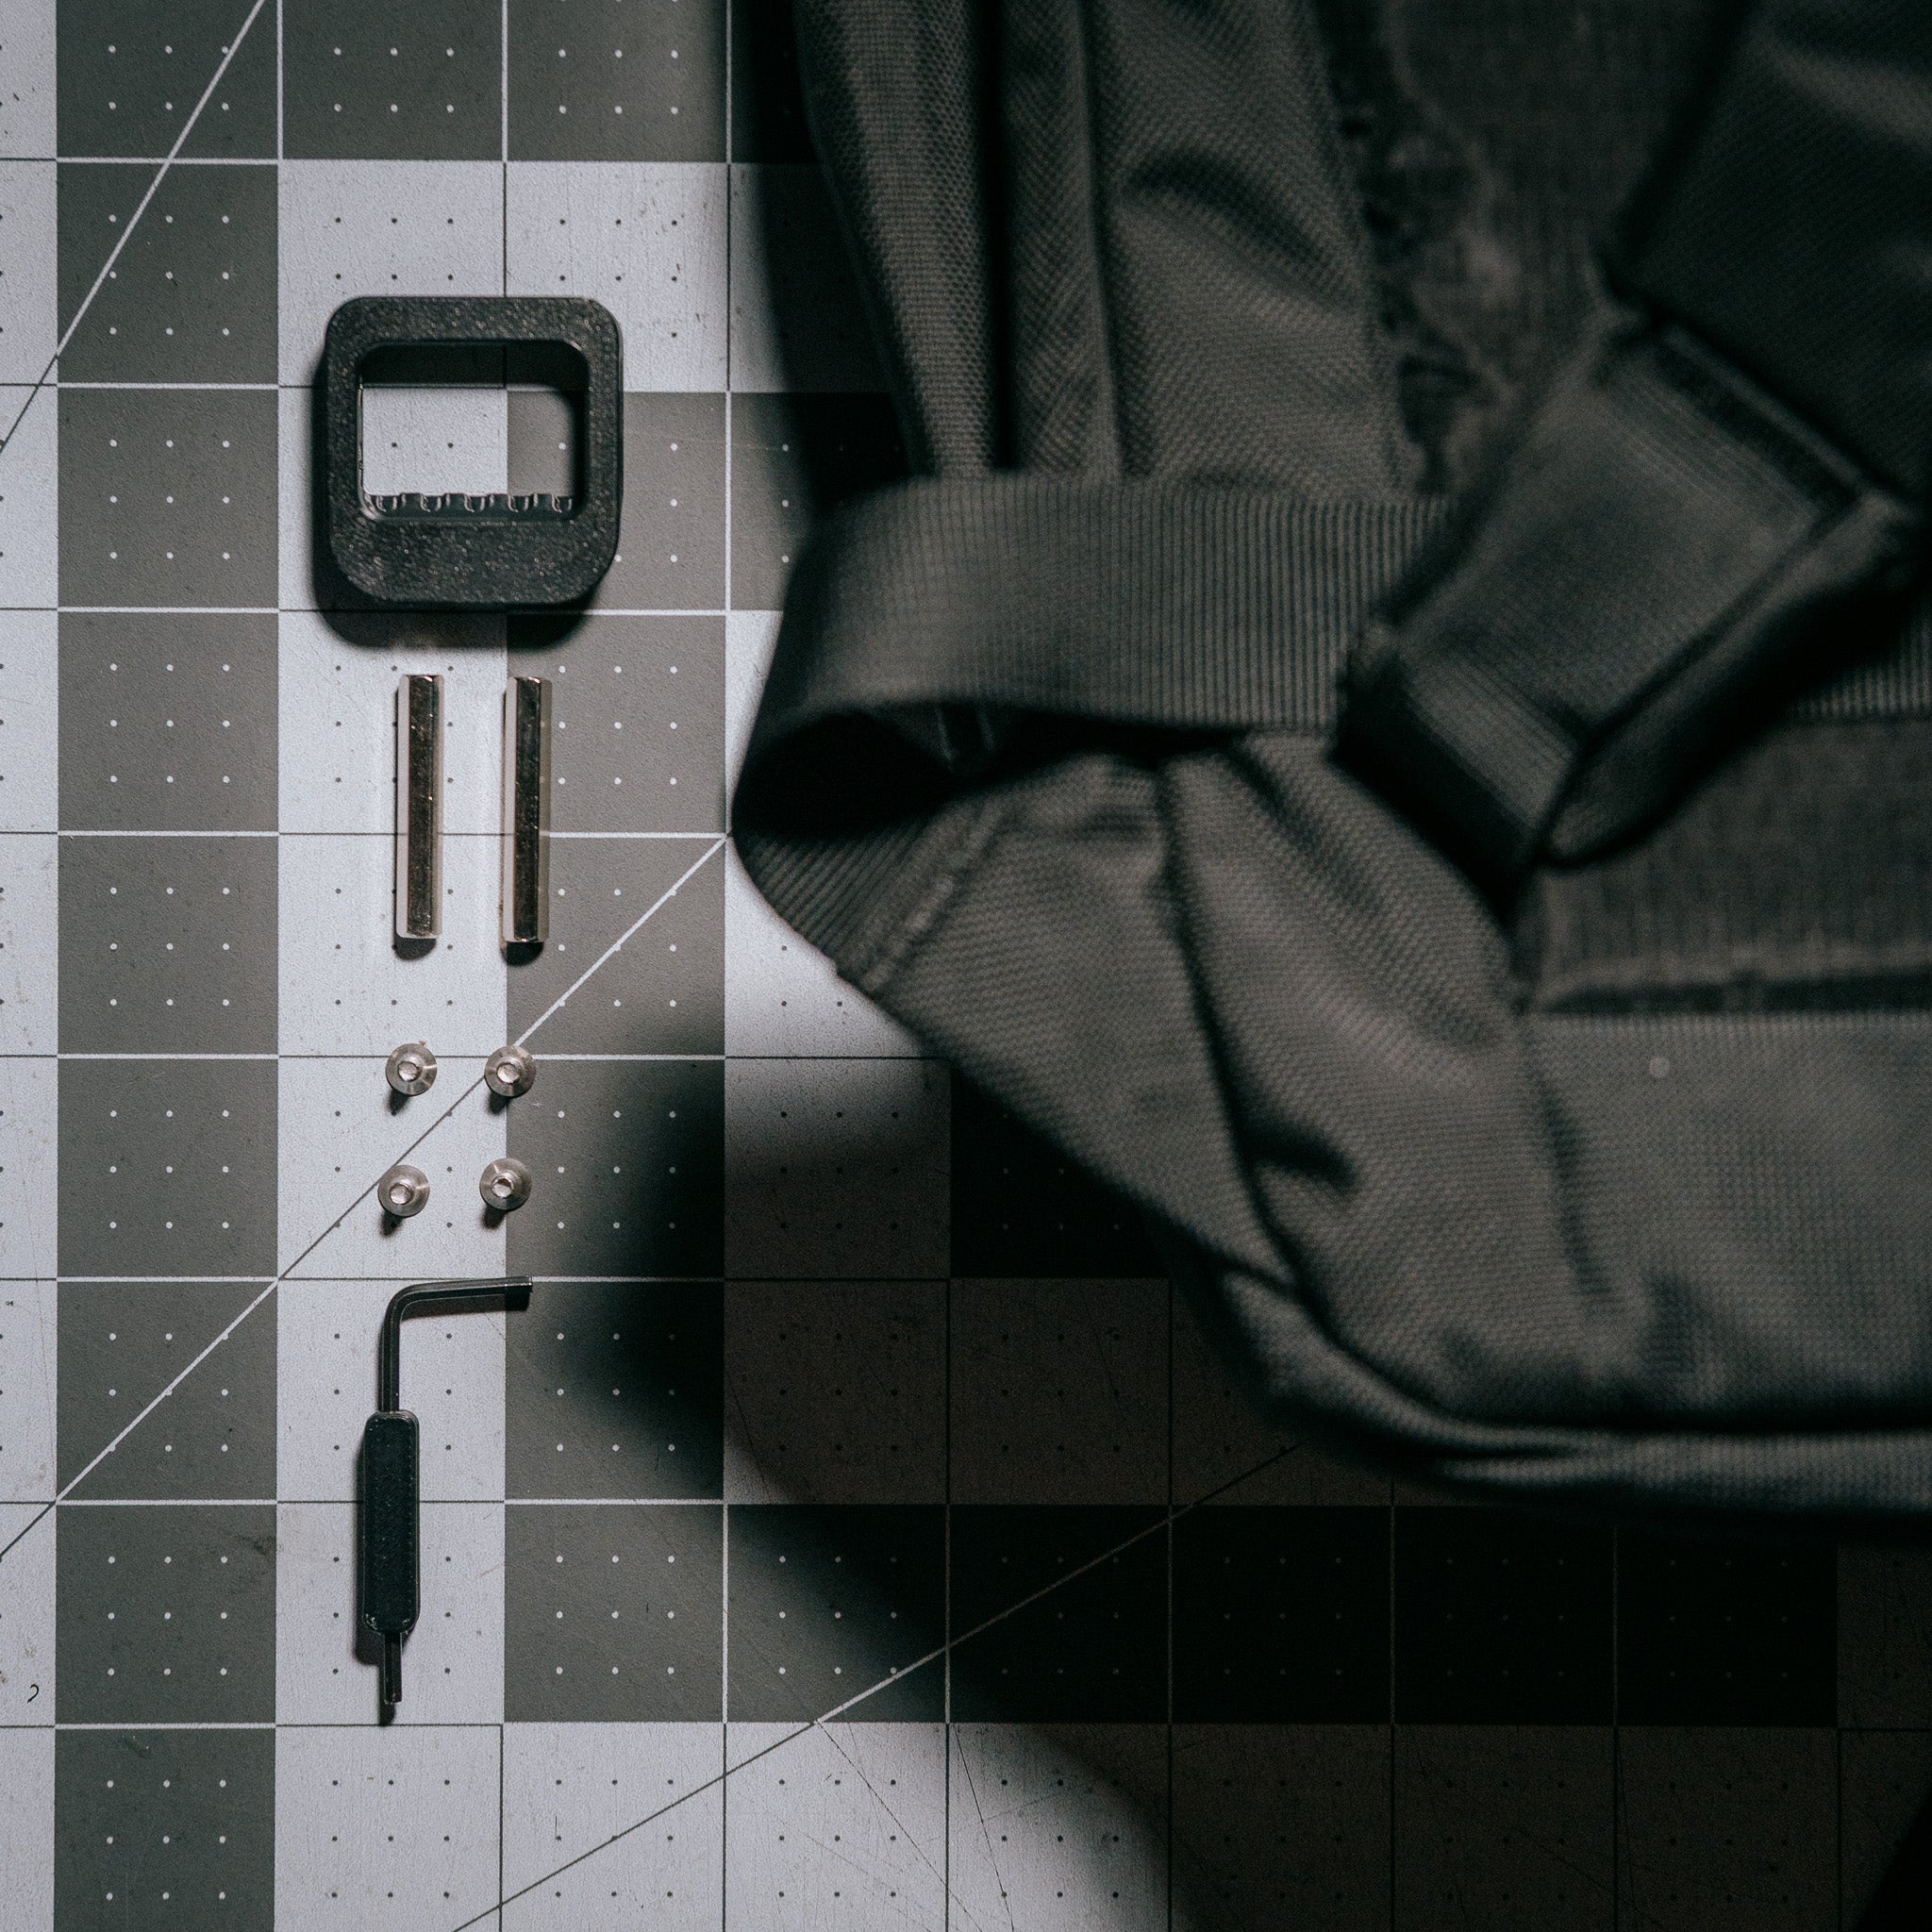
1. What you'll need.
To install SwapLocks you'll need:
SwapLock Base Set (this includes a set of SwapLocks and all the required hardware).
Snips or some method to remove your existing ladder locks. (Careful of flying plastic bits while snipping!)
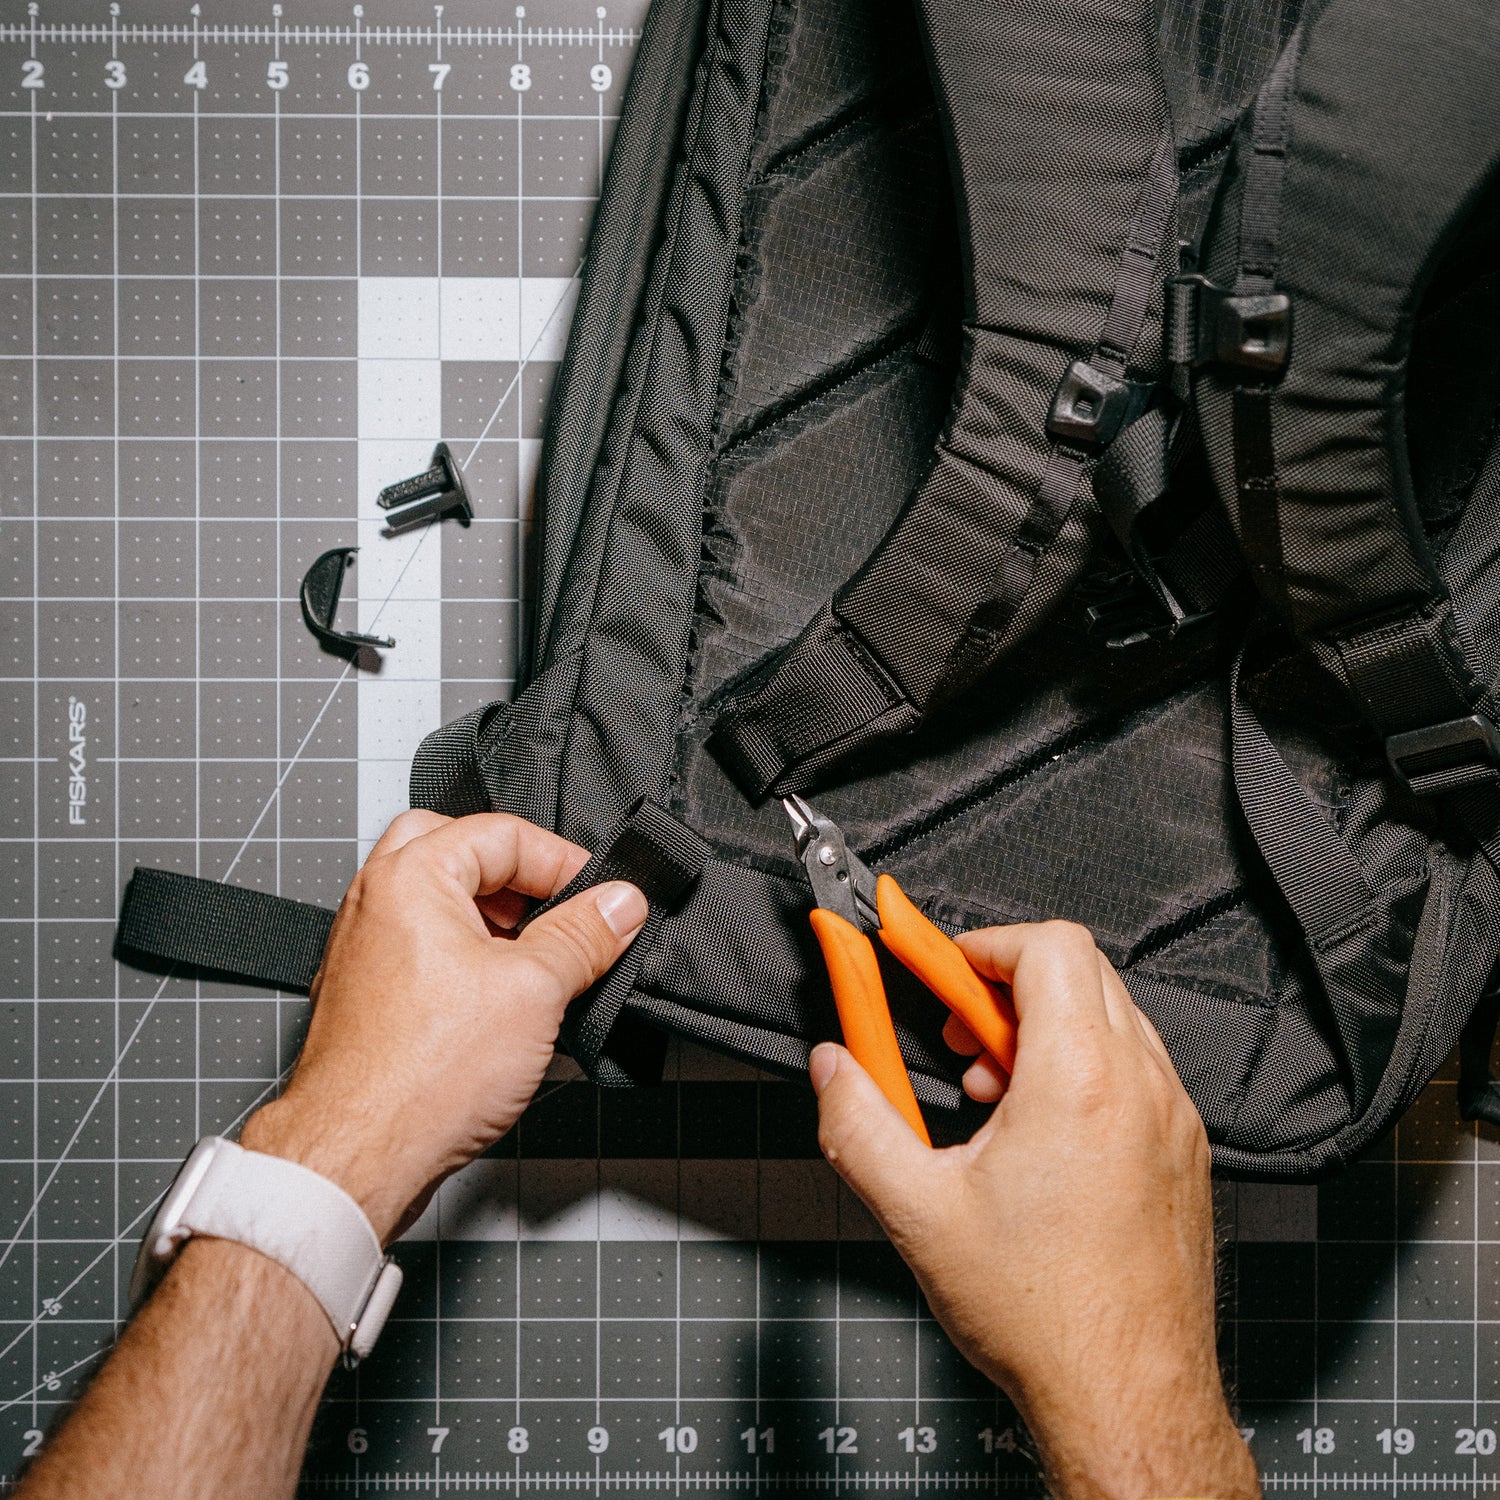
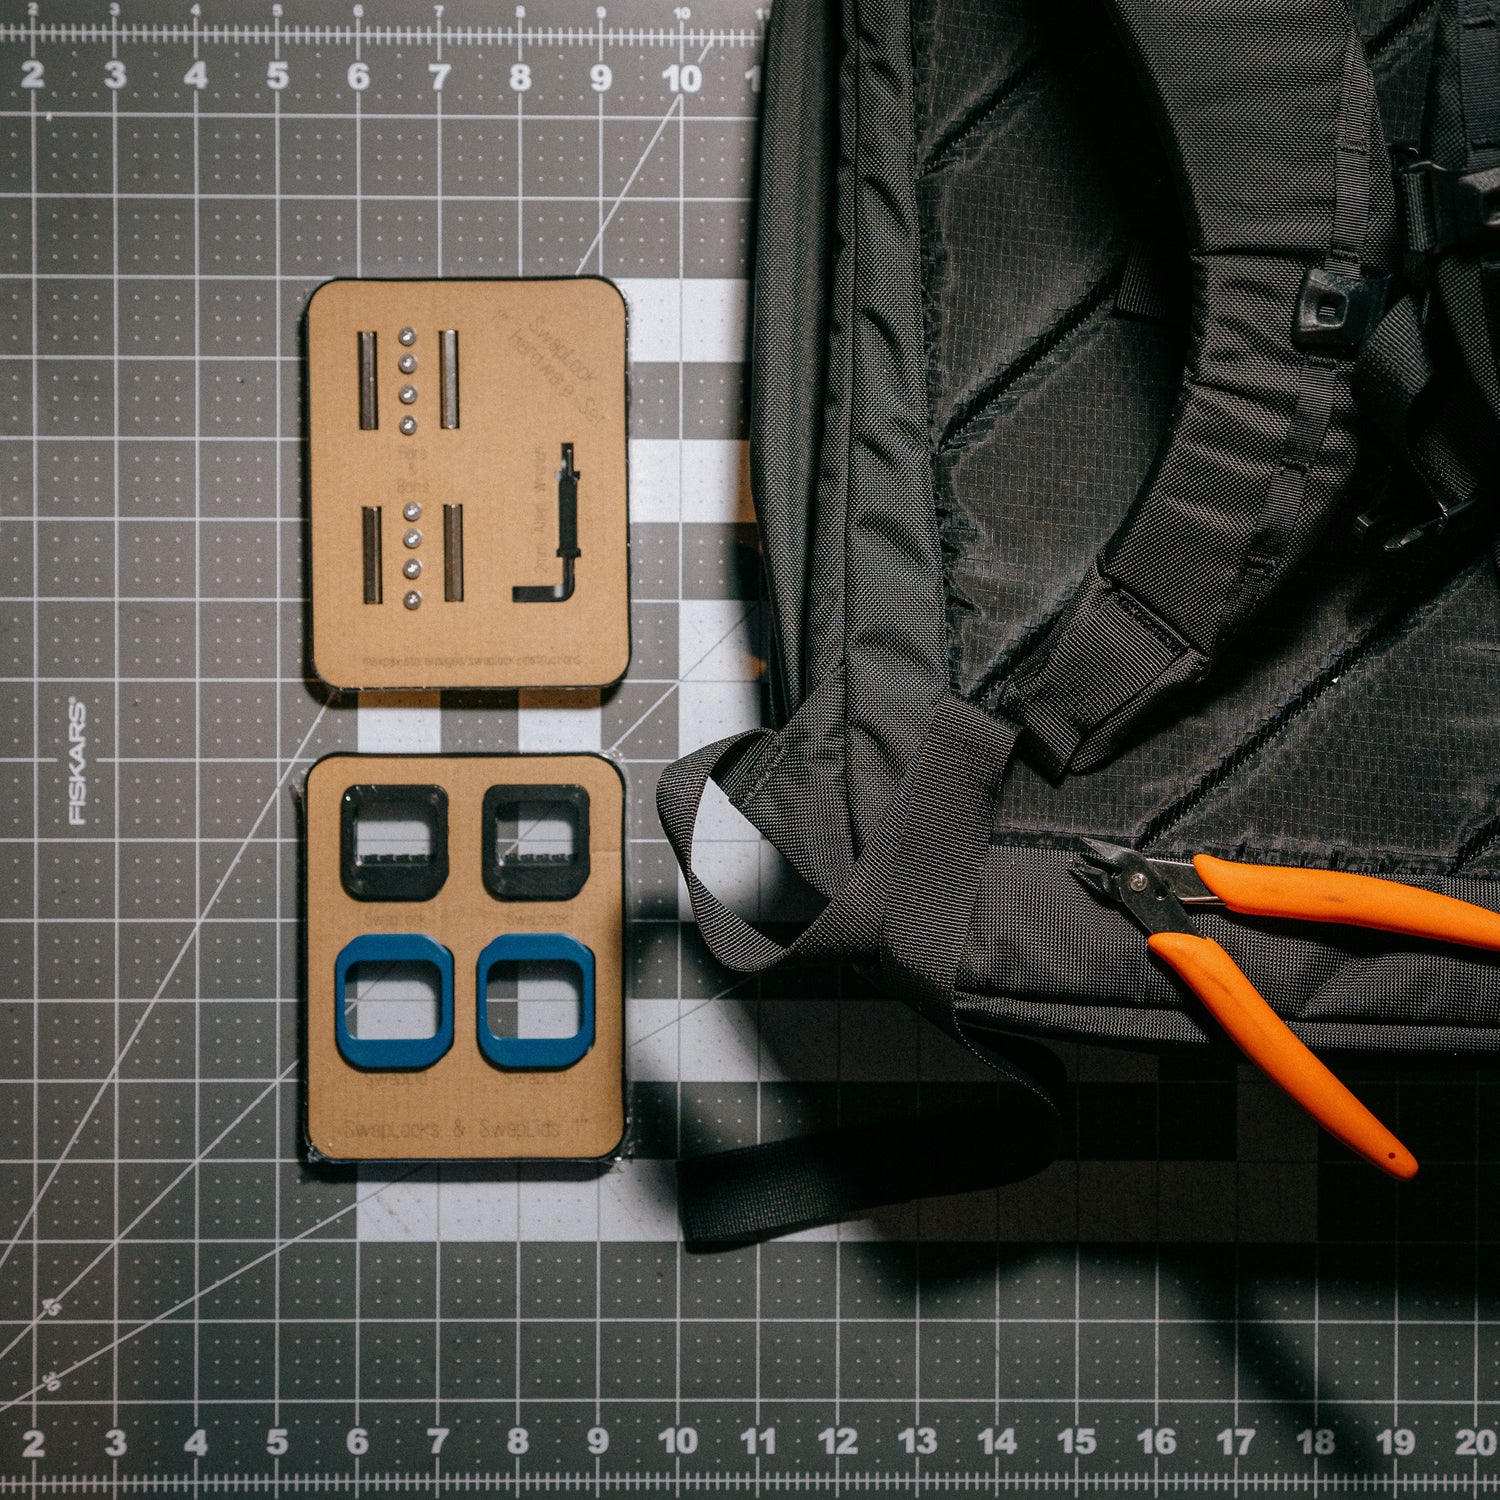
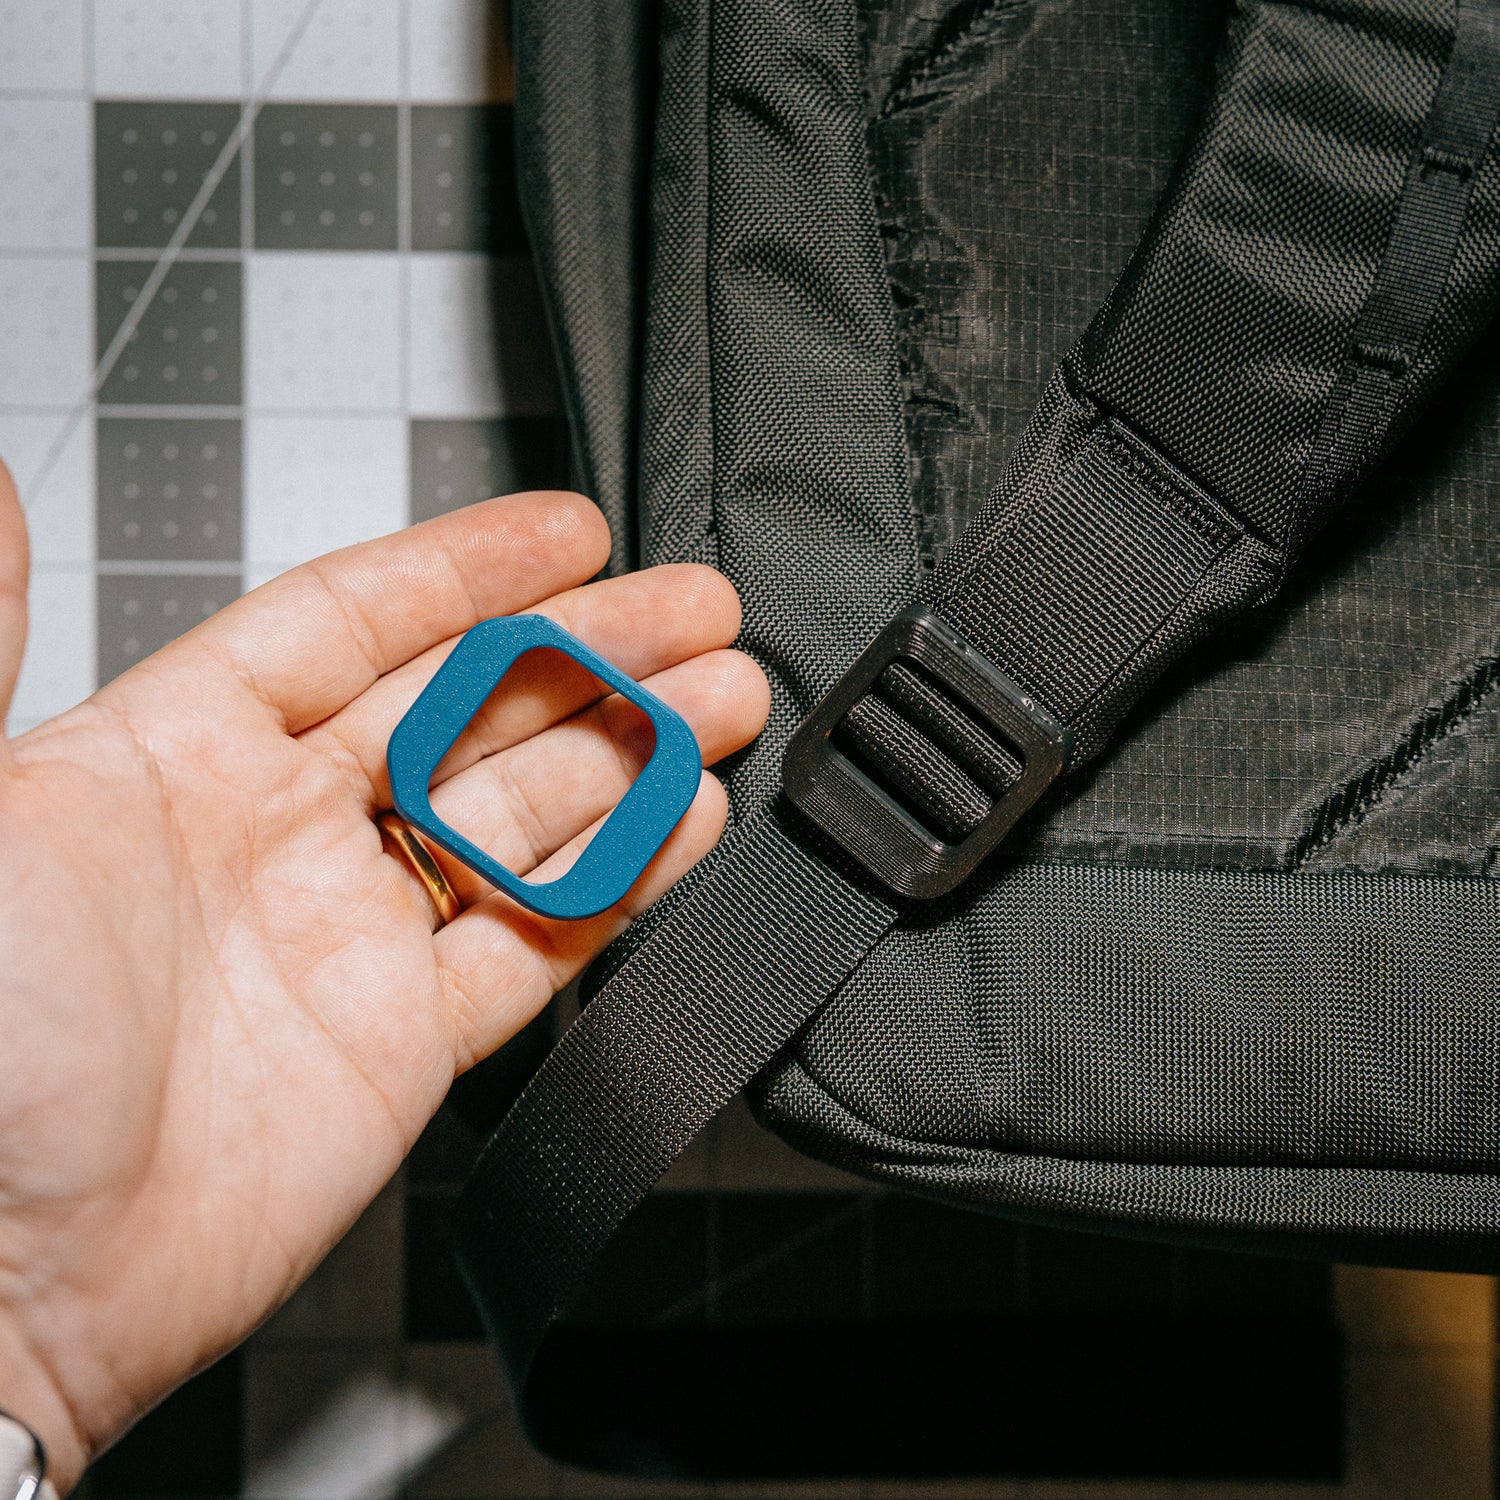
2. Remove Existing Hardware
Flush cutting snips like in the picture can help ensure you avoid snipping any of the webbing, just take care you're only cutting the plastic hardware.
-

4. Prepare Hex Standoffs
Using the included hex wrench, prepare the hex standoffs by pre-screwing one of the included bolts into one end. We can snug this up later so no need to over-tighten it.
-

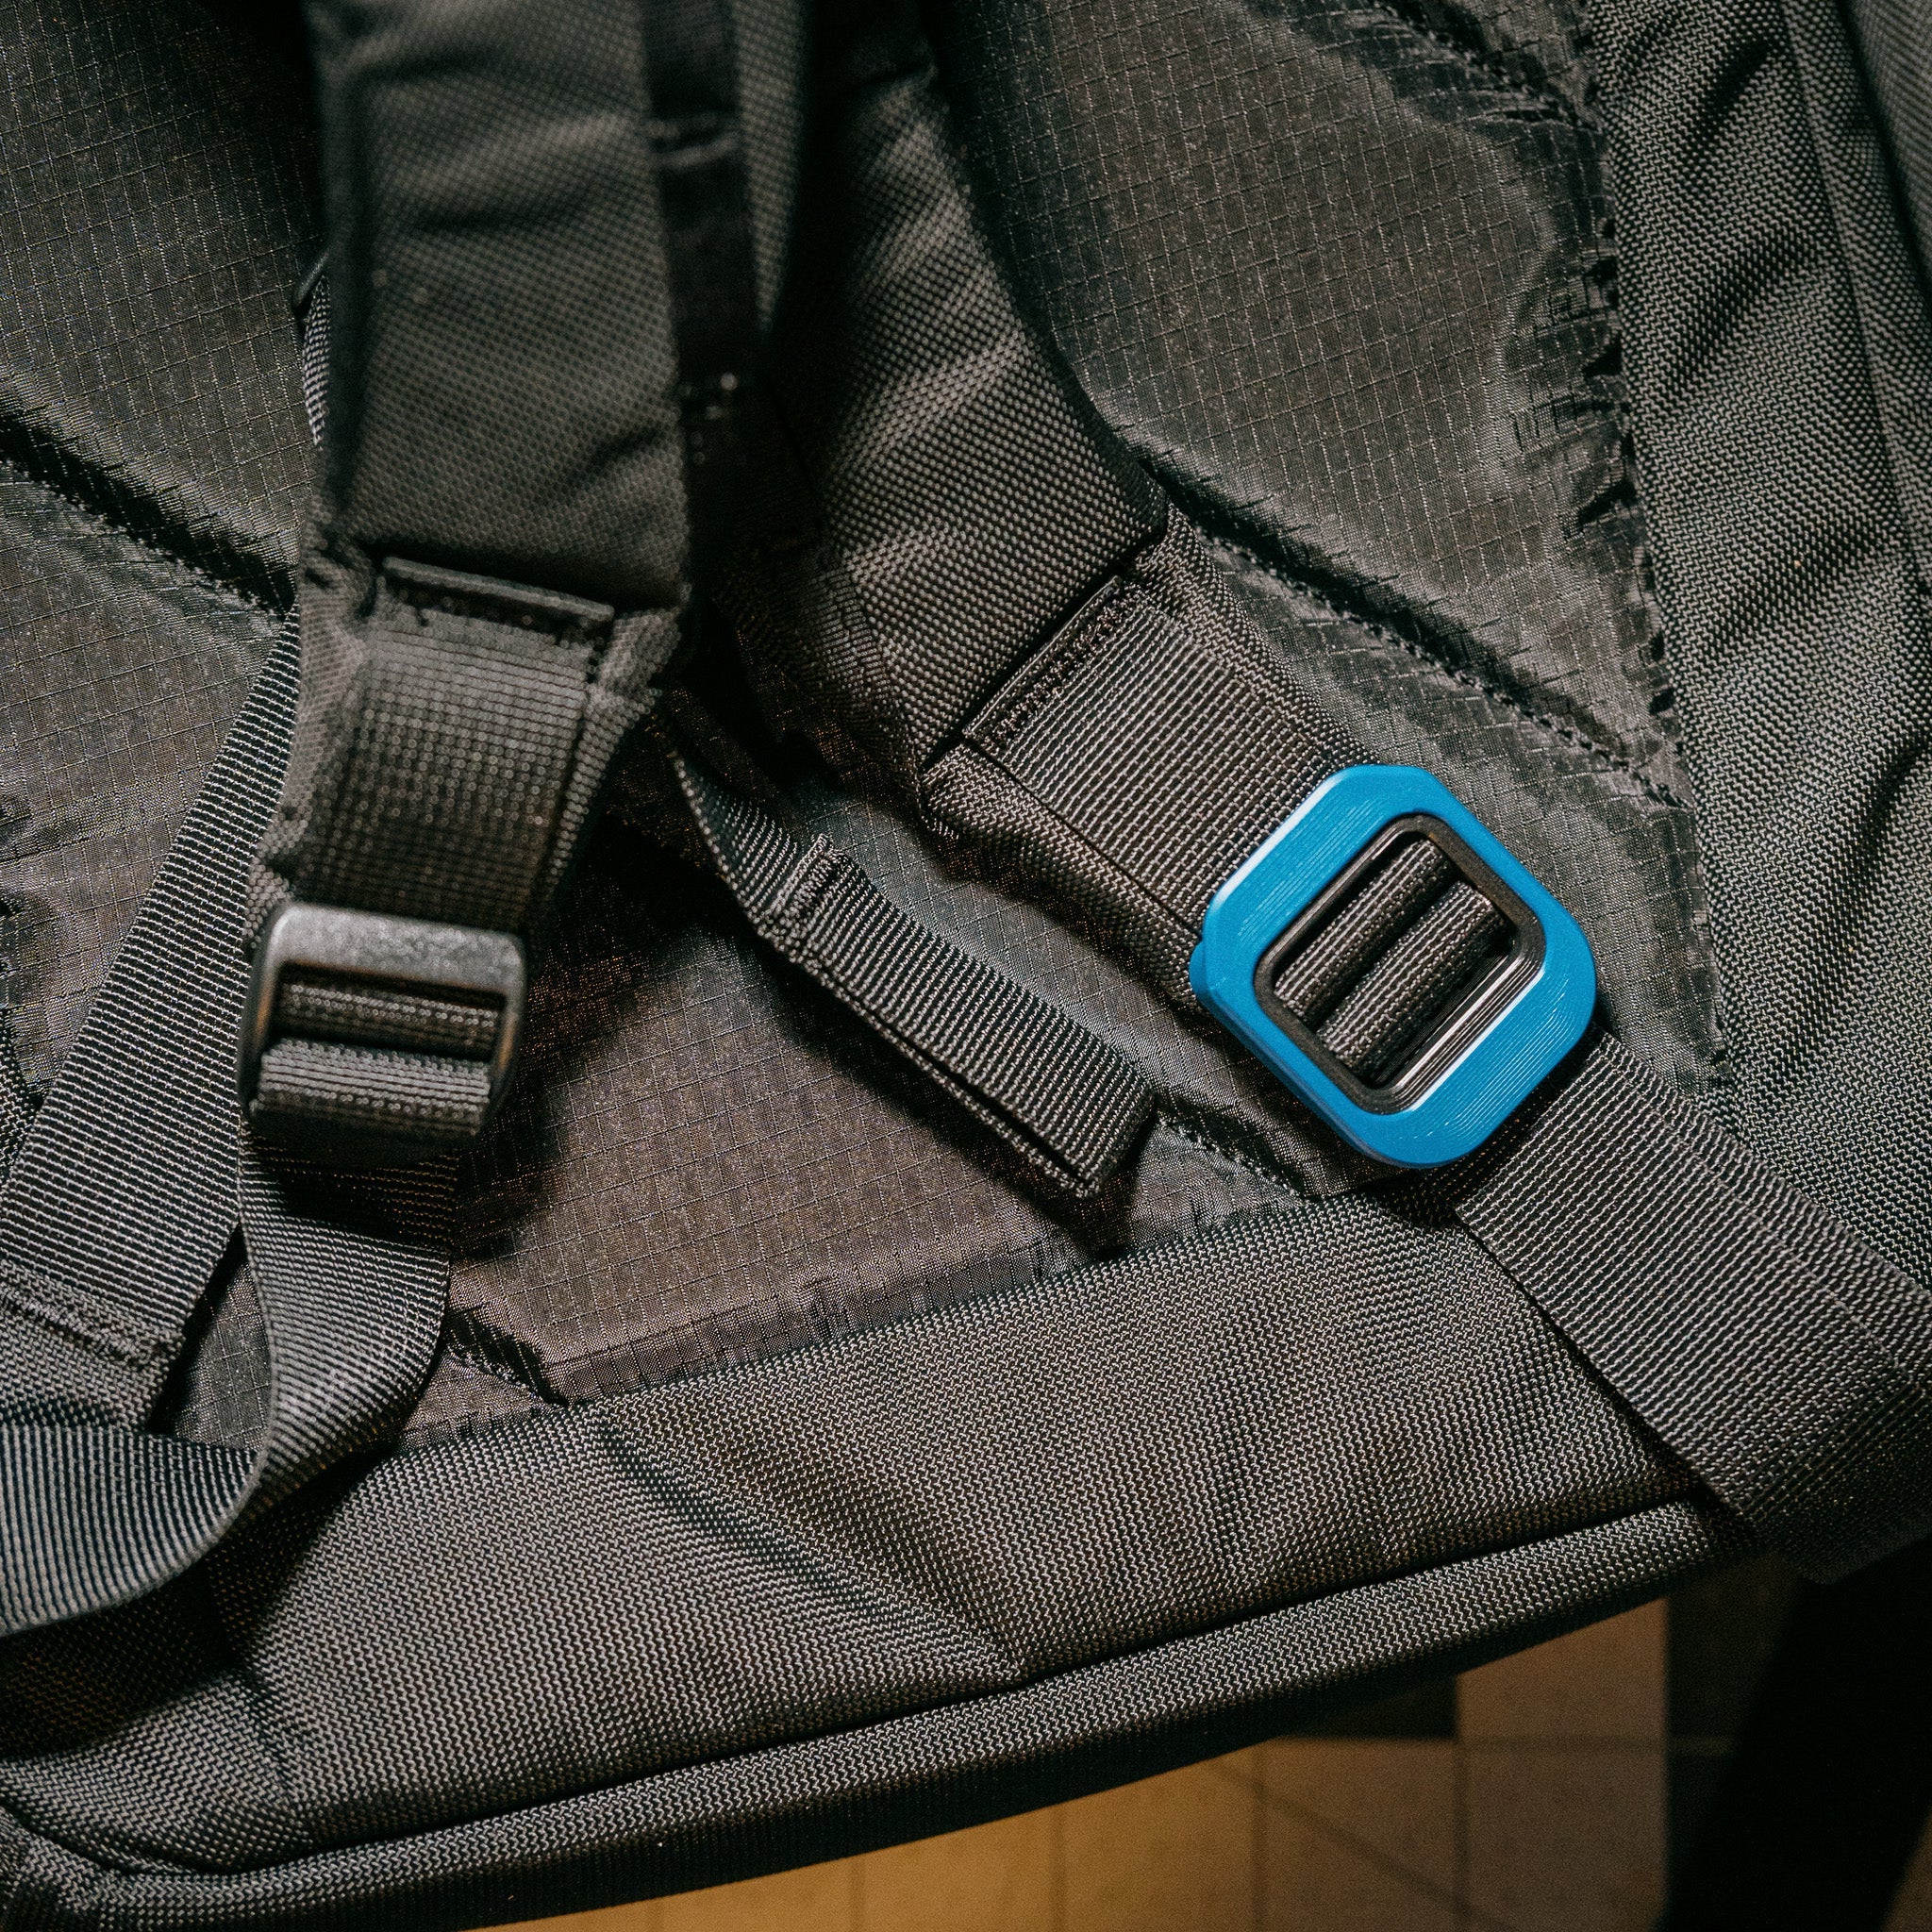
5. Ready to go!
With the standoff bolts pre-installed, we'll be fitting the SwapLock onto your pack's webbing next!
Tip: The plastic around the hex wrench can be removed at any point, it's designed to hold the wrench in place during shipping, if it gets in the way during installation, you can toss it.


-

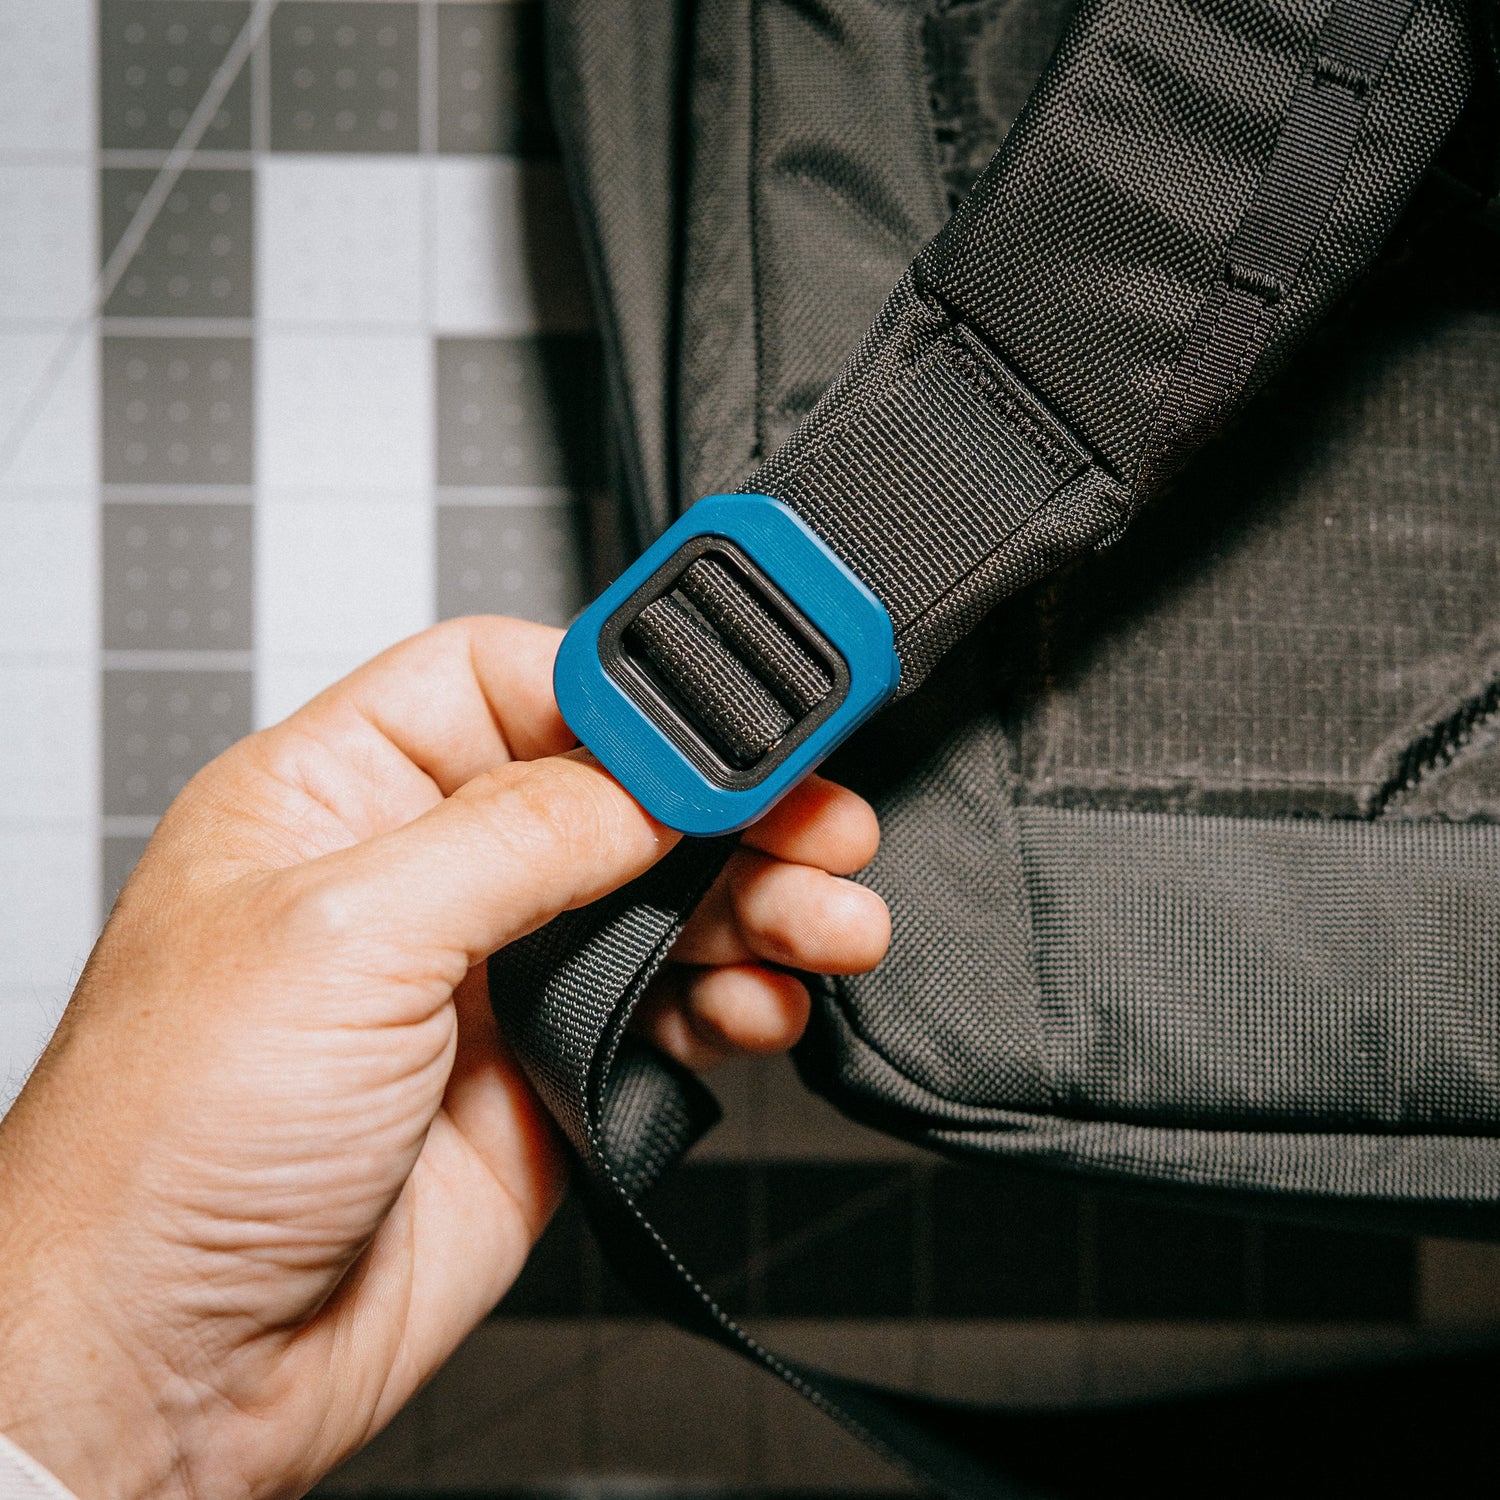
7. Thread SwapLock and Hex Standoff
Place the SwapLock over the loop of webbing. We'll be passing the hex standoff through the SwapLock and through that loop. There might be a bit of resistance when you first insert the standoff (it's designed to be snug).
Tip: Test fit the standoffs before threading the webbing through the pins, this will ensure they pass through the lock easily during installation.
-

8. Bolt the Hex Standoff in place
The hex standoff should pass into the opposite side of the SwapLock (some alignment might be required). Once the standoff is seated in the other side, you can screw in another bolt, you can make this nice and snug as well as making sure the other bolt is tight, too.


9. Repeat previous step
Repeat the previous operation, this time with the lower webbing, pay attention to the strap orientation so there isn't a twist once everything is installed (but its easy to undo and fix!)
10. Attach you SwapLid
This is optional but you can now attach your SwapLid, place the bottom of the SwapLock into the bottom of the Lid, then press the top of the Lid and you should hear a nice 'click' when its seated properly. To remove, using the tab at the top of the Lid, lever it away from top to bottom.
All Done!
You should be good to go! Read these steps in reverse to remove the locks. Have fun modding your pack and swapping Lids to match your style.
Tip: When removing the Hex Standoffs, leave one of the bolts in place and use the hex wrench to help push the standoff out of the SwapLock.